Cake Cutting Instructions: A Comprehensive Guide
Discover the art of perfectly portioned cake slices, transforming celebrations into memorable experiences with expert techniques and guidance for all cake types․
Understanding the Importance of Proper Cake Cutting
Proper cake cutting extends beyond simply dividing a dessert; it’s about ensuring every guest receives an equally enjoyable portion, enhancing the overall celebratory experience․ A skillfully cut cake demonstrates thoughtfulness and attention to detail, elevating the event’s perceived quality․ Consider the visual appeal – neat, uniform slices present a more inviting and sophisticated appearance than haphazardly cut pieces․
Furthermore, consistent slice sizes prevent potential disputes or feelings of unfairness among attendees․ Whether it’s a classic vanilla cake or a delicate cheesecake, the method employed should complement the cake’s structure and ingredients․ For instance, a grid cutting system is ideal for large gatherings, guaranteeing even distribution, while radial cuts suit smaller groups and showcase the cake’s design․ Ultimately, mastering cake cutting is a subtle yet significant way to contribute to a successful and delightful occasion․
Tools You’ll Need for Precise Cake Cutting
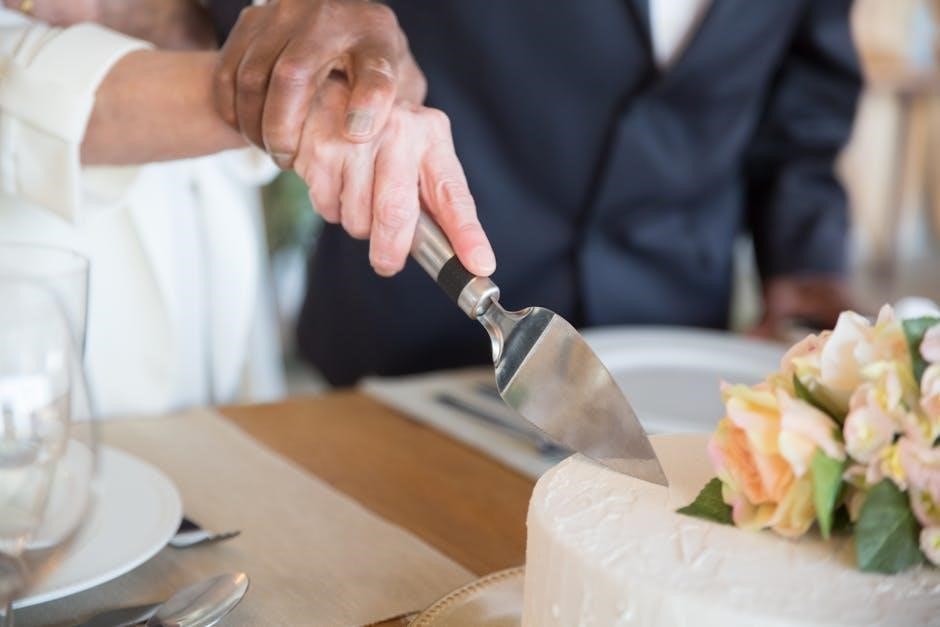
Achieving clean, professional cake cuts requires more than just a kitchen knife․ A long, serrated knife is paramount – its teeth grip the cake, minimizing crumbling and ensuring smooth slices․ Ideally, the blade should be longer than the cake’s diameter for a single, efficient cut․ A cake leveler is invaluable for creating even layers, especially for tiered cakes, guaranteeing stability and uniform portion sizes․
Beyond knives, a cake lifter aids in transferring slices gracefully to plates, preserving their shape and frosting․ For intricate designs, a palette knife assists in smoothing frosting and cleaning up edges․ Dental floss, surprisingly, can create perfectly straight cuts through delicate cheesecakes․ Finally, a rotating cake stand provides stability and ease of movement while cutting․ Investing in these tools elevates your cake-cutting game, resulting in beautifully presented and enjoyed desserts․
Preparing the Cake for Cutting
Before you even think about slicing, proper preparation is key․ Ensure the cake is fully cooled; a warm cake will crumble and make clean cuts impossible․ If frosted, gently scrape away any excess frosting around the edges – this prevents smudging during the cutting process․ For multi-layered cakes, a quick check for evenness is crucial; use a cake leveler if necessary to create a stable base․
Consider the cake’s filling․ Cakes with fruit or cream fillings may require a slightly chilled temperature to maintain their structure․ A light dusting of powdered sugar can help prevent sticking, especially with delicate cakes․ Finally, have your serving plates ready and within easy reach to streamline the process․ These simple steps set the stage for precise and elegant cake cutting, enhancing the overall presentation and enjoyment․
Traditional Wedge Cutting Methods
Explore time-honored techniques for achieving classic cake slices, ideal for informal gatherings and showcasing the cake’s beautiful layers and decorations․
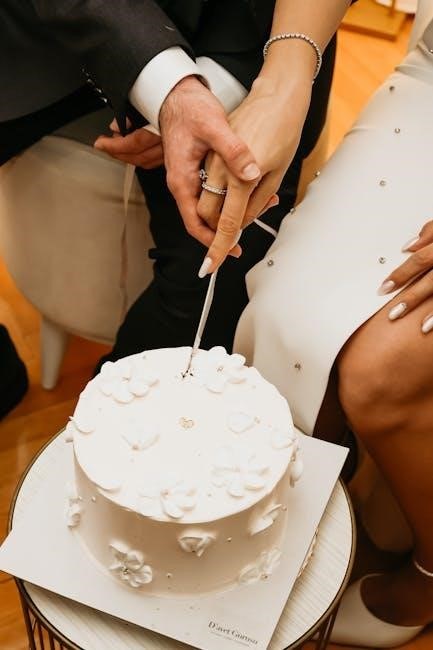
The Classic Radial Cut: Step-by-Step
Begin by carefully positioning your cake on a stable surface, ensuring it won’t wobble during the cutting process․ Locate the center of the cake – visualizing lines from edge to edge can help․ Insert your knife directly into the center, applying gentle downward pressure․
Next, smoothly cut downwards and outwards in a single, fluid motion, creating your first wedge․ Continue this process, rotating the cake slightly after each cut, maintaining consistent slice width․ For even slices, imagine the cake as a pie and aim for equal segments․
Remember to wipe the knife blade clean between each cut to prevent frosting buildup and ensure clean lines․ This technique is best suited for round cakes and provides a visually appealing presentation, perfect for birthdays and celebrations․ Practice makes perfect, so don’t be discouraged if your first few slices aren’t flawless!
Adjusting Slice Size with Radial Cuts
To achieve smaller slices with the radial cut, increase the number of cuts you make, effectively dividing the cake into more segments․ Conversely, for larger, more generous portions, reduce the number of cuts, creating fewer, wider wedges․ The key is consistency – strive for roughly equal angles between each cut․
Consider your guests’ appetites and the overall occasion when determining slice size․ A formal event might call for smaller, more refined portions, while a casual gathering allows for larger, more satisfying slices․ Visualizing the desired slice size before you begin cutting can be incredibly helpful․
Remember to maintain a steady hand and a smooth cutting motion throughout the process․ A slight adjustment to the angle of your knife can also subtly influence slice size․ Don’t hesitate to practice on a smaller cake to perfect your technique before tackling a larger one!
Cutting Cakes with Multiple Layers
When faced with a multi-layered cake, the initial cut should aim to go cleanly through all layers simultaneously․ Applying gentle, even pressure is crucial to prevent the layers from shifting or becoming misaligned during the cutting process․ A long, serrated knife is your best ally here, ensuring a smooth descent․
For precise portioning, consider using a cake leveler or a long, thin knife to gently separate the layers before cutting individual slices․ This allows for more controlled cutting and prevents the frosting from being dragged along with each slice․ Support the cake gently as you cut․
Alternatively, you can cut each layer individually, stacking the slices as you go․ This method is particularly useful for cakes with delicate fillings or intricate decorations․ Remember to maintain consistent slice sizes across all layers for a visually appealing presentation․

Grid Cutting for Even Portions
Employing a grid system guarantees uniform cake slices, ideal for gatherings, maximizing efficiency and ensuring every guest receives an equal, delightful portion․
Creating a Grid System on the Cake
Begin by lightly marking the cake’s surface with a sharp knife or a cake decorating tool, establishing a series of evenly spaced lines running horizontally and vertically․ Consider the desired slice size when determining the spacing; closer lines yield smaller portions, while wider gaps create larger servings․
For rectangular cakes, maintaining consistent spacing along both length and width is crucial for uniform portions․ A ruler can be incredibly helpful in achieving precision․ With round cakes, visualize a grid emanating from the center, ensuring circular slices are as equal as possible․
Gentle pressure is key – avoid cutting all the way through the cake at this stage; the goal is simply to create visible guidelines․ Once the grid is established, proceed with cutting along the marked lines, using a long, smooth knife for clean slices․ This method is particularly effective for sheet cakes and large round cakes, simplifying serving and minimizing waste․
Benefits of Grid Cutting for Large Groups
Grid cutting shines when serving a crowd, offering unparalleled efficiency and fairness in portion distribution; Unlike radial cuts, which can result in varying slice sizes – especially from the center versus the outer edges – a grid ensures everyone receives a remarkably consistent amount of cake․ This minimizes disputes and maximizes guest satisfaction․
The pre-planned grid streamlines the serving process, allowing for quick and organized distribution, crucial during busy events․ It also simplifies self-service scenarios, as guests can easily identify and select a pre-portioned slice․ Furthermore, grid cutting minimizes cake waste, as every section is intentionally sized and accounted for․
This technique is especially valuable for cakes with multiple layers or intricate decorations, preserving the visual appeal while guaranteeing equitable servings for all attendees․ It’s a practical and considerate approach to cake service․
Grid Cutting for Square and Rectangular Cakes
For square or rectangular cakes, grid cutting is exceptionally straightforward and effective․ Begin by visualizing or lightly marking lines across the cake’s surface, creating a uniform grid pattern․ The number of rows and columns will determine the slice size; more lines equal smaller portions․ Use a long, sharp knife and gentle pressure to cut along these marked lines․
Maintaining a consistent depth with each cut is crucial for even slices․ A sawing motion, rather than pressing straight down, helps prevent crumbling, especially with softer cakes․ Consider using a ruler or straight edge as a guide for perfectly straight lines, ensuring a professional presentation․
This method is ideal for sheet cakes, providing neat, manageable portions․ It’s also particularly useful when serving a variety of cake flavors, allowing for easy identification and selection of preferred options․ Grid cutting maximizes cake utilization and minimizes waste․
Specialty Cake Cutting Techniques
Master delicate cuts for decorated cakes, cheesecakes, and those filled with fruit or cream, preserving both presentation and flavor in every slice․
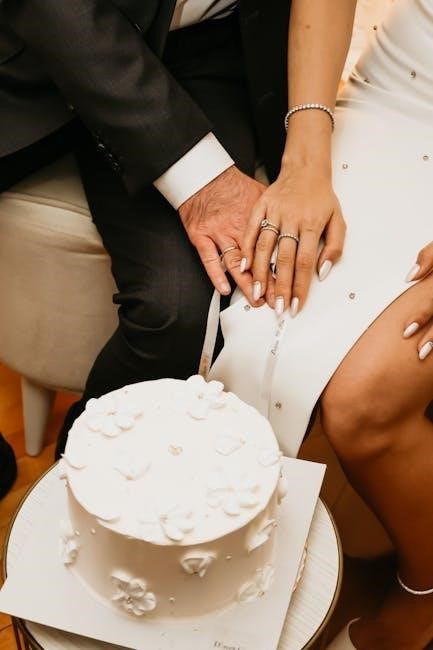
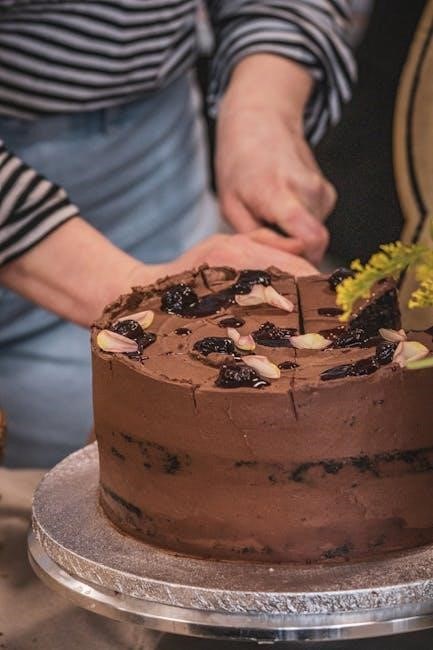
Cutting Cakes with Decorations
When faced with a beautifully decorated cake, preserving the artistry during cutting is paramount․ Begin by carefully assessing the decoration – identify elements you want to protect and plan your cuts accordingly․ A serrated knife is still your best friend, but gentler motions are crucial․
Instead of pressing straight down, use a slight sawing motion, lifting the knife between each pass․ This minimizes crushing and smudging of frosting․ Consider removing individual decorative elements before cutting, if possible, and repositioning them on the served slices․ For cakes with delicate sugar flowers or intricate piping, a warm, dry knife can help create cleaner cuts․
Alternatively, you can cut around the decorations entirely, creating smaller, uniquely shaped portions․ Don’t be afraid to embrace asymmetry; it can add to the charm! Remember, the goal is to enjoy the cake, and a slightly imperfect cut is far better than a ruined design․ Prioritize a clean presentation, and thoughtful execution․
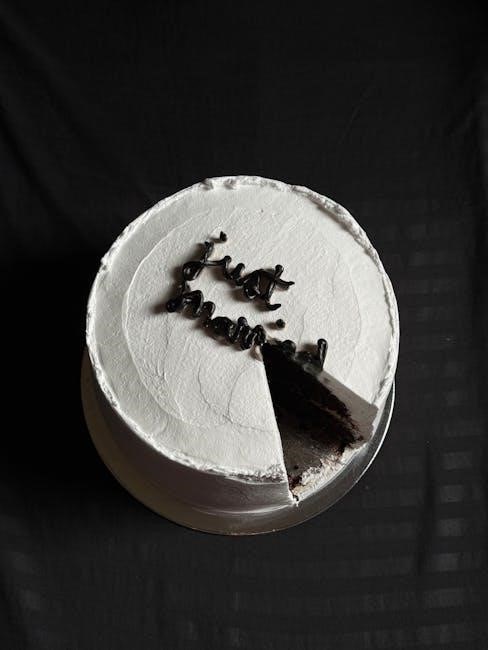
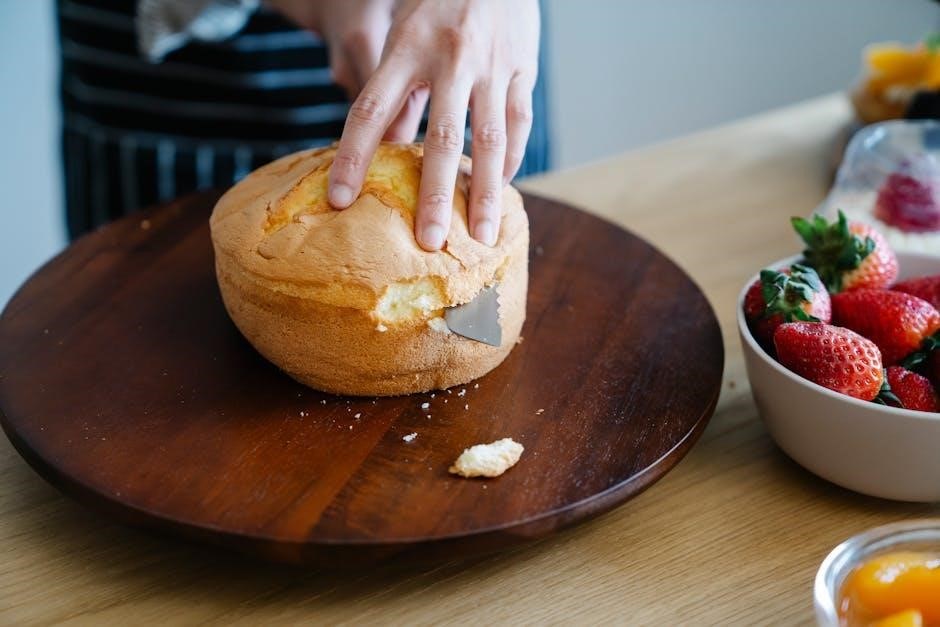
Cutting Cheesecakes and Delicate Cakes
Cheesecakes and other delicate cakes – like chiffon or sponge cakes – require a specialized approach to avoid crumbling and maintain their texture․ The key is minimizing pressure and friction․ Always use a long, thin, sharp knife, and ideally, warm it under hot water before each cut․ Wipe it dry immediately after․
Avoid sawing motions; instead, use a gentle, straight down pressure․ For cheesecakes, running the knife through a warm water repeatedly ensures a clean slice․ Consider cutting the cheesecake while it’s slightly chilled, but not frozen, as this provides more structural integrity․ A plastic wrap-covered knife can also help prevent sticking․
Support the cake gently with your hand while cutting, but avoid squeezing․ If the cake is exceptionally delicate, chilling it for a longer period can make the process easier․ Remember, patience is key – slow and steady wins the race when dealing with these fragile desserts․
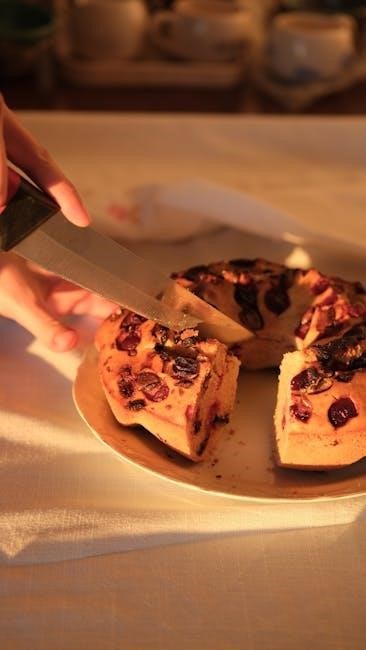
Cutting Cakes with Filling (Fruit, Cream, etc․)
Cakes boasting luscious fillings – be it fruit compotes, creamy custards, or whipped delights – present a unique cutting challenge․ The goal is to preserve the integrity of both the cake and the filling, ensuring each slice receives a generous portion of both․ Employ a long, sharp knife, warmed slightly for smoother passage․
Begin by gently pressing down to establish a cutting line, then use a slow, deliberate sawing motion, avoiding excessive pressure that could squeeze the filling out․ For cakes with substantial fillings, consider a two-step approach: first, score the cake lightly, then complete the cut with a firmer, but still controlled, motion․
Supporting the cake with your hand during cutting is crucial, but be mindful not to compress it․ Chilling the cake briefly before cutting can help stabilize the filling․ Clean the knife after each slice to maintain clean cuts and prevent filling smearing․
Serving Considerations
Elevate the cake experience with thoughtful presentation, delightful accompaniments, and proper storage for leftovers, ensuring every bite is as enjoyable as the first․
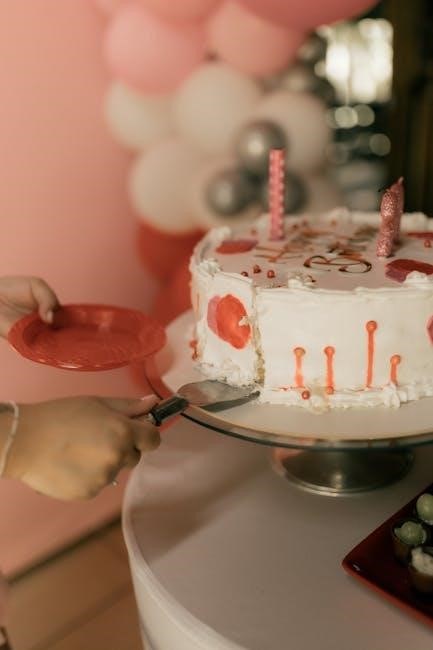
Plate Presentation Techniques
Creating an appealing plate presentation transforms a simple slice of cake into a delightful visual experience․ Begin with a clean plate – white often provides the best contrast, allowing the cake’s colors to truly pop․ Consider a small dollop of frosting artfully swirled beside the slice, or a delicate dusting of powdered sugar for an elegant touch․
Fresh berries, such as raspberries or blueberries, add vibrant color and a burst of flavor․ A sprig of mint offers a refreshing aroma and a touch of greenery․ For richer cakes, a contrasting sauce – like a raspberry coulis with chocolate cake – can enhance both the appearance and taste․ Don’t overcrowd the plate; simplicity is key․ A strategically placed garnish elevates the entire presentation, making each serving feel special and inviting․ Remember, the goal is to entice the eye as much as the palate!
Accompaniments to Enhance the Cake Experience
Elevate your cake serving beyond the slice itself with thoughtfully chosen accompaniments․ A scoop of vanilla ice cream is a classic pairing, providing a cool contrast to the cake’s texture․ Fresh fruit, like strawberries or peaches, complements many flavors, adding a natural sweetness and vibrancy․ Consider a light whipped cream, subtly flavored with vanilla or citrus, for a delicate touch․
For chocolate cakes, a drizzle of chocolate sauce or a sprinkle of cocoa powder intensifies the richness․ Coffee or tea provides a balancing beverage, cutting through the sweetness․ A small glass of dessert wine can also create a sophisticated pairing․ Don’t underestimate the power of a simple dusting of chopped nuts for added texture and flavor․ Ultimately, the best accompaniments enhance, not overshadow, the cake’s inherent deliciousness․
Handling Leftover Cake
Proper storage is key to enjoying leftover cake․ Wrap cut edges tightly with plastic wrap to prevent drying, or place slices in an airtight container․ For frosted cakes, consider gently covering the entire surface to maintain moisture and frosting integrity․ Refrigeration is recommended for cakes containing cream cheese frosting or perishable fillings, extending their freshness for up to 3-4 days․
If freezing, wrap the cake tightly in plastic wrap, then in foil, for up to two months․ Thaw overnight in the refrigerator before serving․ Revive slightly stale cake by briefly warming a slice in the microwave or enjoying it with a scoop of ice cream․ Creative repurposing is also an option – crumble leftover cake into parfaits or use it to create cake pops!
Advanced Cutting Techniques
Elevate your cake presentation with precision tools and methods, including cake levelers, spiral cuts, and detailed approaches for flawlessly slicing tiered creations․
Using Cake Levelers for Perfect Slices
Achieving consistently even cake layers is paramount for a professional finish and structurally sound tiered cakes․ Cake levelers, available in wire or adjustable blade designs, are invaluable tools for this purpose․ Begin by ensuring your cake is thoroughly cooled; a chilled cake cuts more cleanly․ Position the leveler at the desired height, gently but firmly pressing down and drawing it across the cake in a smooth, sawing motion․
Rotate the cake and repeat until the layer is fully separated․ For taller cakes, multiple passes with the leveler may be necessary․ This technique minimizes crumbling compared to using a knife alone, resulting in flatter, more uniform slices․ Remember to clean the leveler between each pass to prevent frosting buildup․ Consistent leveling not only improves aesthetics but also ensures even distribution of frosting and filling, enhancing the overall cake experience․
The “Spiral Cut” Method for Unique Presentation
For a visually striking and unconventional approach to cake serving, consider the spiral cut․ This method is particularly effective for round cakes, creating elegant, elongated portions․ Begin at the cake’s center and, using a long, serrated knife, carefully cut in a continuous spiral outwards towards the edge․ Maintain a consistent width for each slice, typically between one and two inches, depending on desired portion size․
The key is a smooth, fluid motion, avoiding abrupt stops or changes in pressure․ This technique requires practice to master, but the resulting presentation is undeniably impressive․ Spiral cuts are ideal for buffets or parties where guests can easily select their preferred slice length․ It offers a modern alternative to traditional wedge cuts, adding a touch of sophistication to any celebration․
Cutting Tiered Cakes: A Detailed Approach
Successfully cutting a tiered cake demands a methodical approach to maintain structural integrity and ensure even portions․ Start by carefully assessing the cake’s construction – are the tiers supported by internal dowels? If so, avoid cutting through them․ Begin with the top tier, using a long, serrated knife and gentle sawing motions․ Once the top tier is removed, repeat the process for each subsequent tier, working downwards․
Support the upper tiers with your hand while cutting the lower ones to prevent shifting․ For very tall cakes, consider removing one tier at a time and placing it on a separate serving platter․ This simplifies cutting and serving․ Remember to communicate clearly with anyone assisting, ensuring a safe and controlled process․ Precise cuts preserve the cake’s aesthetic appeal․
Troubleshooting Common Cutting Issues
Address cake-cutting challenges like crumbling or frosting smudges with chilled tools and gentle techniques, ensuring a polished presentation every time․
Dealing with Crumbling Cakes
Crumbling can be a frustrating issue when attempting to slice a delicate cake, but several techniques can minimize this problem․ First, ensure your knife is impeccably sharp; a dull blade will tear through the cake rather than slice cleanly; Chilling the cake slightly before cutting can also firm up the structure, reducing crumbs․
Warm the knife under hot water and dry it thoroughly before each slice – the heat helps it glide through the cake․ Use a gentle sawing motion instead of pressing down forcefully․ For particularly fragile cakes, consider using a long, serrated knife, as it creates less resistance․ If crumbs do appear, gently brush them away with a clean pastry brush rather than smearing them into the frosting․ A steady hand and patience are key to achieving neat slices from a crumbly cake․
Preventing Frosting Smudging During Cutting
Frosting smudging is a common concern when cutting a beautifully decorated cake, but preventative measures can maintain its pristine appearance․ Similar to dealing with crumbling, a warm, clean knife is crucial․ Dip the knife in hot water, dry it completely, and repeat before each cut․ This creates a non-stick surface, preventing the frosting from clinging to the blade․
Apply gentle, even pressure and avoid dragging the knife across the frosting․ A swift, clean slicing motion is preferable․ For cakes with intricate frosting details, consider chilling the cake thoroughly before cutting to firm up the frosting․ If smudging occurs, a small offset spatula can carefully smooth the frosting back into place․ Prioritizing a sharp knife and controlled movements will significantly reduce frosting transfer and ensure a polished presentation․
Cutting Frozen Cakes
Cutting a frozen cake presents unique challenges, but with the right approach, it can be surprisingly manageable․ Freezing firms up the cake and frosting, making for cleaner slices, especially beneficial for delicate layers or intricate decorations․ A serrated knife is essential; its teeth grip the frozen texture more effectively than a smooth blade․
Before cutting, let the cake sit at room temperature for 5-10 minutes to slightly soften the edges, preventing cracking․ Use a gentle sawing motion rather than pressing down, and re-warm the knife frequently in hot water and dry it thoroughly between each slice․ Patience is key – avoid forcing the knife․ This method is particularly useful for cheesecakes or cakes with soft fillings, ensuring neat portions and minimizing mess․